
Building and hacking minikube
This document will outline the internals on minikube. It will outline how minikube works and what are the steps involved in running it inside an IDE. Having the ability to run inside the IDE will give the power of more better understanding by stepping through the code.
Minikube makes heavy use of VM and out of the box it supports VMs such as VirtualBox, Hyperkit, etc. We going to go through the VirtualBox setup in Linux environment for this article.
Prerequisite
Minikube has dependencies on packages that will need to be installed on your local dev machine. The best way to ensure that you have all the relevant packages installed is to run through the Quickstart steps on minikube tutorial website. Once you are able to run minikube on it’s own on your dev machine you should be able to run and debug it without any problem from inside the IDE.
Building minikube
This article will be using GoLand IDE as it provide a lot of features that makes development in Go very easy. You can download the IDE here and install the IDE using the instruction outline on the website.
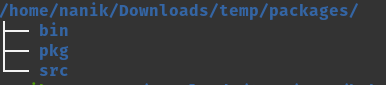
The GOPATH used in this article has been set to /home/nanik/Downloads/temp/packages
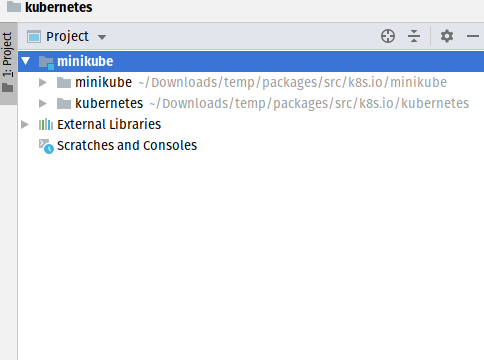
Completing the IDE installation checkout minikube into your GOPATH directory. On my local machine the minikube is stored under $GOPATH/src/k8s.io/minikube directory, as shows on the following screenshot
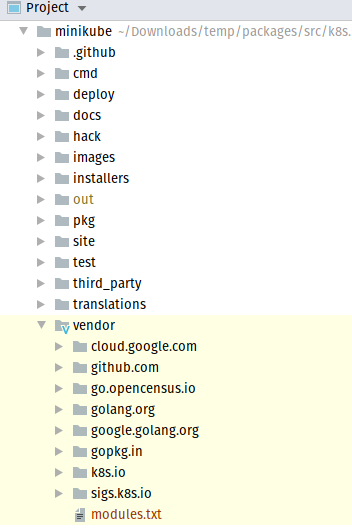
We need to setup the vendor directory for minikube by executing the following command
GO111MODULE=on go mod vendorYou will see vendor/ directory under the minikube source code.
Before running minikube there are code that need to be generated by executing the make command. On your terminal execute the following command
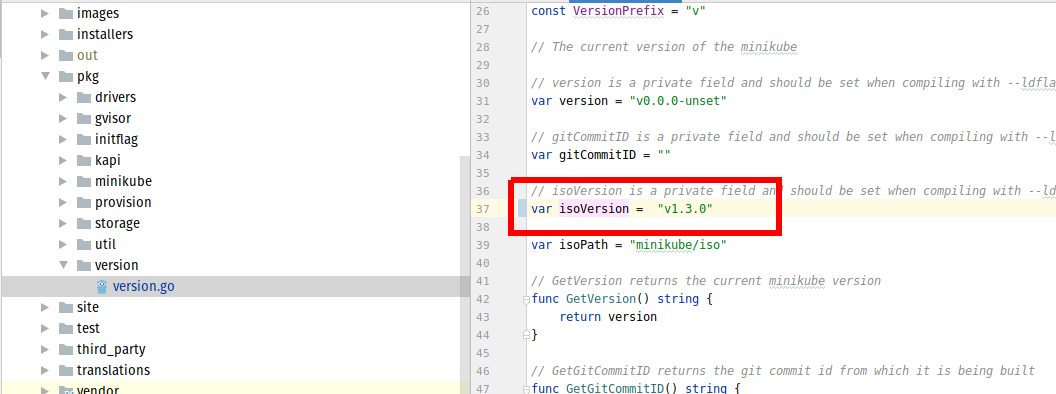
makeThe other step that need to be done is to set the correct version of the .iso file that will be used by minikube. This .iso file will be automatically downloaded when minikube starts up. The version need to be set inside the file version.go under pkg/version directory as shown below, set it to v1.3.0
Once the make build is complete the minikube code is not ready. The main function to execute minikube is inside the file main.go under the cmd/minikube directory
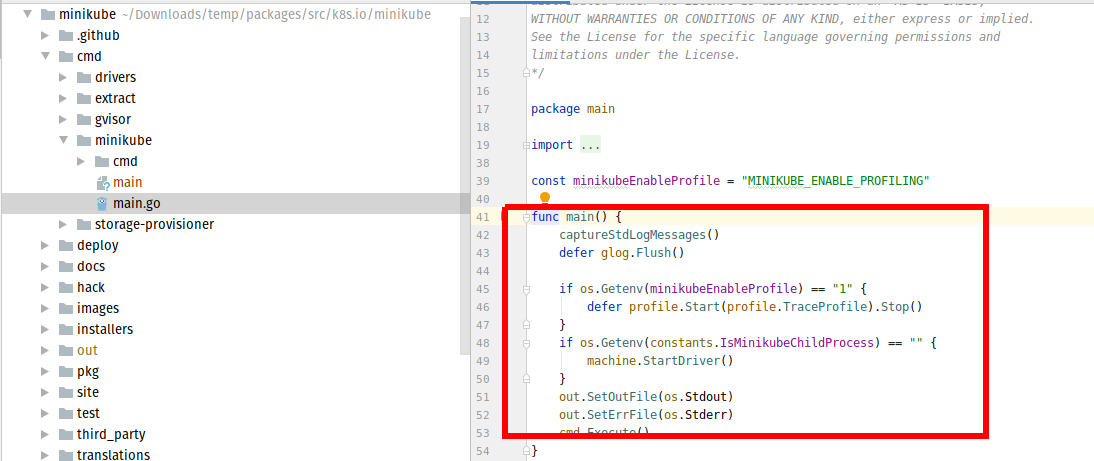
Following is the directory structure of minikube source code (the screenshot shows 2 level deep directory tree)
├── cmd
│   ├── drivers
│   ├── extract
│   ├── gvisor
│   ├── minikube
│   └── storage-provisioner
├── deploy
│   ├── addons
│   ├── gvisor
│   ├── iso
│   ├── minikube
│   └── storage-provisioner
├── docs
│   └── contributors
├── hack
│   ├── boilerplate
│   ├── help_text
│   ├── jenkins
│   ├── kubernetes_version
│   ├── prow
│   └── release_notes
├── images
│   └── logo
├── installers
│   ├── darwin
│   ├── linux
│   └── windows
├── out
├── pkg
│   ├── drivers
│   ├── gvisor
│   ├── initflag
│   ├── kapi
│   ├── minikube
│   ├── provision
│   ├── storage
│   ├── util
│   └── version
├── site
│   ├── assets
│   ├── content
│   ├── layouts
│   ├── resources
│   ├── static
│   └── themes
├── test
│   └── integration
├── third_party
│   └── go9p
├── translations
└── vendor
    ├── cloud.google.com
    ├── github.com
    ├── golang.org
    ├── google.golang.org
    ├── go.opencensus.io
    ├── gopkg.in
    ├── k8s.io
    └── sigs.k8s.io
Now we are ready to run the minikube. Use the parameter start as part of the program argument as shown in the screenshot
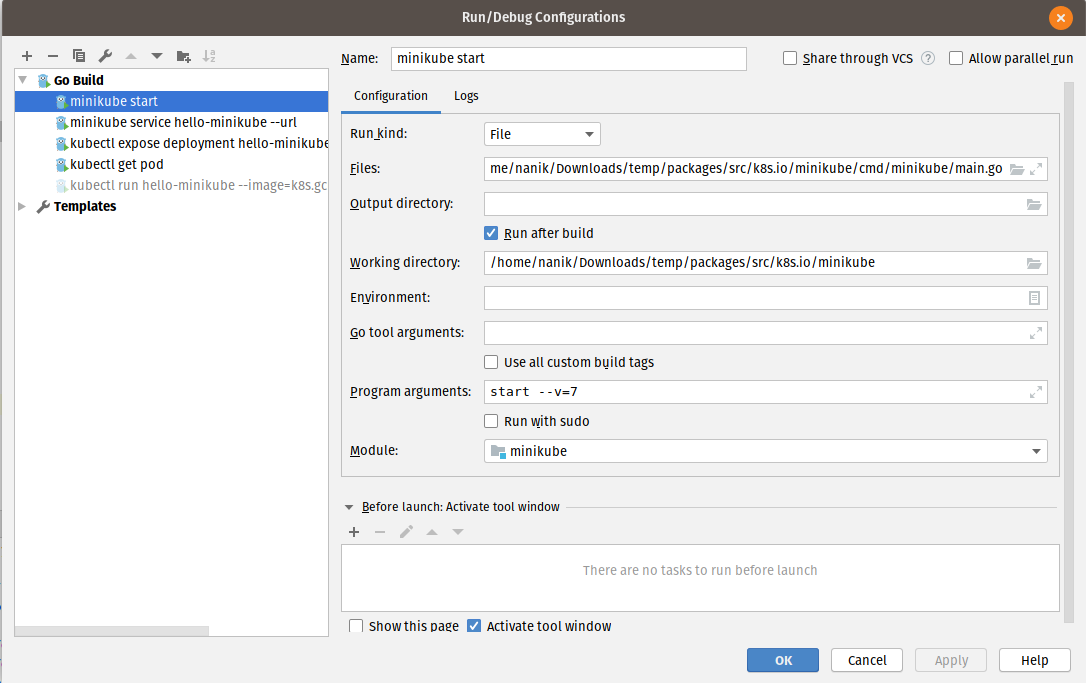
The parameter –v=7 used is to provide verbose logging to help in troubleshooting in case of issues. The log output will look somewhat like the following
😄  minikube v0.0.0-unset on ......
💡  Tip: Use 'minikube start -p <name>' to create a new cluster, or 'minikube delete' to delete this one.
COMMAND: /usr/bin/VBoxManage showvminfo minikube --machinereadable
STDOUT:
{
name="minikube"
groups="/"
ostype="Linux 2.6 / 3.x / 4.x (64-bit)"
UUID="....."
CfgFile="/home/nanik/.minikube/machines/minikube/minikube/minikube.vbox"
SnapFldr="/home/nanik/.minikube/machines/minikube/minikube/Snapshots"
LogFldr="/home/nanik/.minikube/machines/minikube/minikube/Logs"
hardwareuuid="....."
memory=2000


	.........
	.........
	.........
	.........


END SSH

🔄  Relaunching Kubernetes using kubeadm ...
⌛  Waiting for: apiserver proxy etcd scheduler controller dns
🏄  Done! kubectl is now configured to use "minikube"
💡  For best results, install kubectl: https://kubernetes.io/docs/tasks/tools/install-kubectl/
Once minikube has been ran successfully the application will exit as the VM now run in the bacground complete will the relevant kubernetes components installed inside it. To see the background process use the following command to peek into minikube running process on your machine
ps -A | grep -i vbyou will see output similar to the following
.....
.....
28685 ?        00:00:51 VBoxXPCOMIPCD
28690 ?        00:02:35 VBoxSVC
28824 ?        15:53:35 VBoxHeadless
28841 ?        00:00:06 VBoxNetDHCP
Now to confirm that all working well we need to execute command using minikube to check the cluster status. Use the following program argument to do this
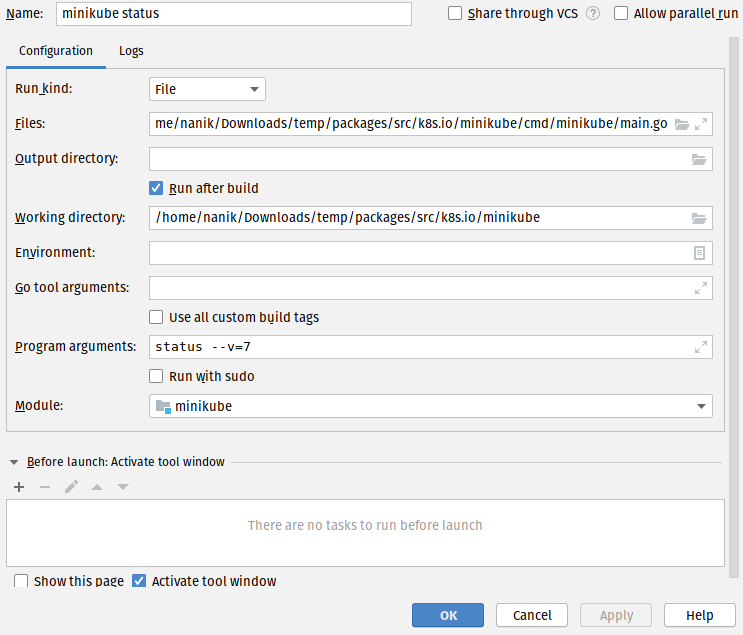
You will get output that shows the following
host: Running
kubelet: Running
apiserver: Running
kubectl: Correctly Configured: pointing to minikube-vm at xx.xx.xx.xxs
Now you are ready to start playing around with minikube source code.