
Inside minikube ISO
Minikube uses a generated .iso file that is used to bootstrap the VM with it’s own kernel and rootfs. Once the VM has been initialized properly it will use the .iso to bootstrap the Linux kernel allowing all the different applications to be installed and run. This means that pretty much minikube is running on it’s own operating system and does not use any dependencies from the host system (except through the VM)
Building .iso file
Building the .iso file for minikube requires docker to be running on your local machine. Internally it uses docker container to build everything (kernel + rootfs) and package it into an .iso file. There are 2 separate make tasks that need to be triggered as shown below:
buildroot-image: $(ISO_BUILD_IMAGE) # convenient alias to build the docker container
$(ISO_BUILD_IMAGE): deploy/iso/minikube-iso/Dockerfile
	docker build $(ISO_DOCKER_EXTRA_ARGS) -t $@ -f $< $(dir $<)
	@echo ""
	@echo "$(@) successfully built"
out/minikube.iso: $(shell find "deploy/iso/minikube-iso" -type f)
ifeq ($(IN_DOCKER),1)
$(MAKE) minikube_iso
else
docker run --rm --workdir /mnt --volume $(CURDIR):/mnt $(ISO_DOCKER_EXTRA_ARGS) \
--user $(shell id -u):$(shell id -g) --env HOME=/tmp --env IN_DOCKER=1 \
$(ISO_BUILD_IMAGE) /usr/bin/make out/minikube.iso
endifThis means there are 2 separate tasks that need to be executed
make buildroot-image 2>&1 | tee buildrootimage.txt && make out/minikube.iso 2>&1 | tee buildminikubeiso.txtThe output of the build process will be piped into buildrootimage.txt and buildminikubeiso.txt file to make it easy for troubleshooting purposes. Here is a snapshpot of how the output looks like from both the logs
buildrootimage.txt
docker build  -t gcr.io/k8s-minikube/buildroot-image -f deploy/iso/minikube-iso/Dockerfile deploy/iso/minikube-iso/
Sending build context to Docker daemon  184.3kB

Step 1/6 : FROM ubuntu:18.04
18.04: Pulling from library/ubuntu
35c102085707: Pulling fs layer
251f5509d51d: Pulling fs layer
.....
.....
8e829fe70a46: Pull complete
6001e1789921: Verifying Checksum
6001e1789921: Download complete
6001e1789921: Pull complete
Digest: sha256:d1d454df0f579c6be4d8161d227462d69e163a8ff9d20a847533989cf0c94d90
Status: Downloaded newer image for ubuntu:18.04
 ---> a2a15febcdf3
Step 2/6 : RUN apt-get update 	&& apt-get install -y apt dpkg apt-utils ca-certificates 	&& apt-get upgrade -y 	&& apt-get install -y 		build-essential 		git 		wget 		cpio 		python 		unzip 		bc 		gcc-multilib 		automake 		libtool 		gnupg2 		p7zip-full 		locales 		rsync 		dumb-init 		golang-go 		libpcre3-dev 	&& rm -rf /var/lib/apt/lists/*
 ---> Running in 3e3ff8ddac3e
Get:1 http://security.ubuntu.com/ubuntu bionic-security InRelease [88.7 kB]
Get:2 http://archive.ubuntu.com/ubuntu bionic InRelease [242 kB]
Get:3 http://security.ubuntu.com/ubuntu bionic-security/universe amd64 Packages [766 kB]
Get:4 http://archive.ubuntu.com/ubuntu bionic-updates InRelease [88.7 kB]
Get:5 http://archive.ubuntu.com/ubuntu bionic-backports InRelease [74.6 kB]
Get:6 http://archive.ubuntu.com/ubuntu bionic/multiverse amd64 Packages [186 kB]
.....
.....
Unpacking manpages-dev (4.15-1) ...
Selecting previously unselected package p7zip.
Preparing to unpack .../153-p7zip_16.02+dfsg-6_amd64.deb ...
Unpacking p7zip (16.02+dfsg-6) ...
.....
.....
Removing intermediate container 3e3ff8ddac3e
 ---> 89cfa69b7f86
Step 3/6 : RUN localedef -i en_US -c -f UTF-8 -A /usr/share/locale/locale.alias en_US.UTF-8
 ---> Running in e68c807a6dbf
Removing intermediate container e68c807a6dbf
 ---> c69896a88da3
Step 4/6 : ENV LANG en_US.utf8
 ---> Running in 58df4bca1563
Removing intermediate container 58df4bca1563
 ---> c181b08523ad
Step 5/6 : ENTRYPOINT ["/usr/bin/dumb-init", "--"]
 ---> Running in 46918f491955
Removing intermediate container 46918f491955
 ---> 3e76d78225fc
Step 6/6 : CMD ["/bin/bash"]
 ---> Running in 6cefbf569aad
Removing intermediate container 6cefbf569aad
 ---> 2217637c1629
Successfully built 2217637c1629
Successfully tagged gcr.io/k8s-minikube/buildroot-image:latest

gcr.io/k8s-minikube/buildroot-image successfully built
buildminikubeiso.txt
docker run --rm --workdir /mnt --volume /home/nanik/Downloads/temp/packages/src/k8s.io/minikube:/mnt  \
	--user 1000:1000 --env HOME=/tmp --env IN_DOCKER=1 \
	gcr.io/k8s-minikube/buildroot-image /usr/bin/make out/minikube.iso
/usr/bin/make minikube_iso
make[1]: Entering directory '/mnt'
echo v1.4.0-beta.0 > deploy/iso/minikube-iso/board/coreos/minikube/rootfs-overlay/etc/VERSION
if [ ! -d ./out/buildroot ]; then \
	mkdir -p ./out; \
	git clone --depth=1 --branch=2018.05.3 https://github.com/buildroot/buildroot ./out/buildroot; \
fi;
Cloning into './out/buildroot'...
Note: checking out '717309783755a883974896ea822675a7bf46da3a'.
....
/usr/bin/make BR2_EXTERNAL=../../deploy/iso/minikube-iso minikube_defconfig -C ./out/buildroot
....
....
....
....
Using Virtualbox
Just for fun let’s try to run the .iso file by ourself using the VirtualBox.
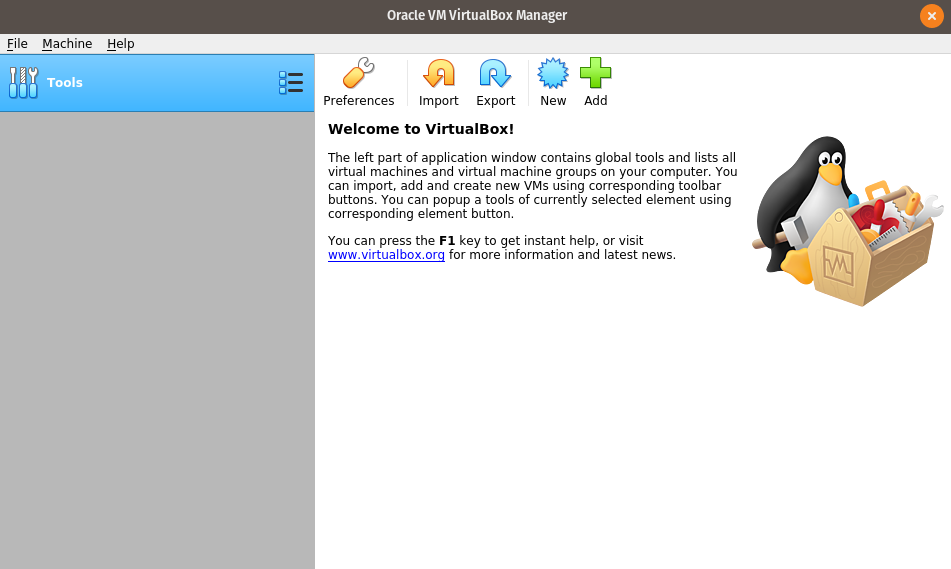
Start the VirtualBox UI from your local machine
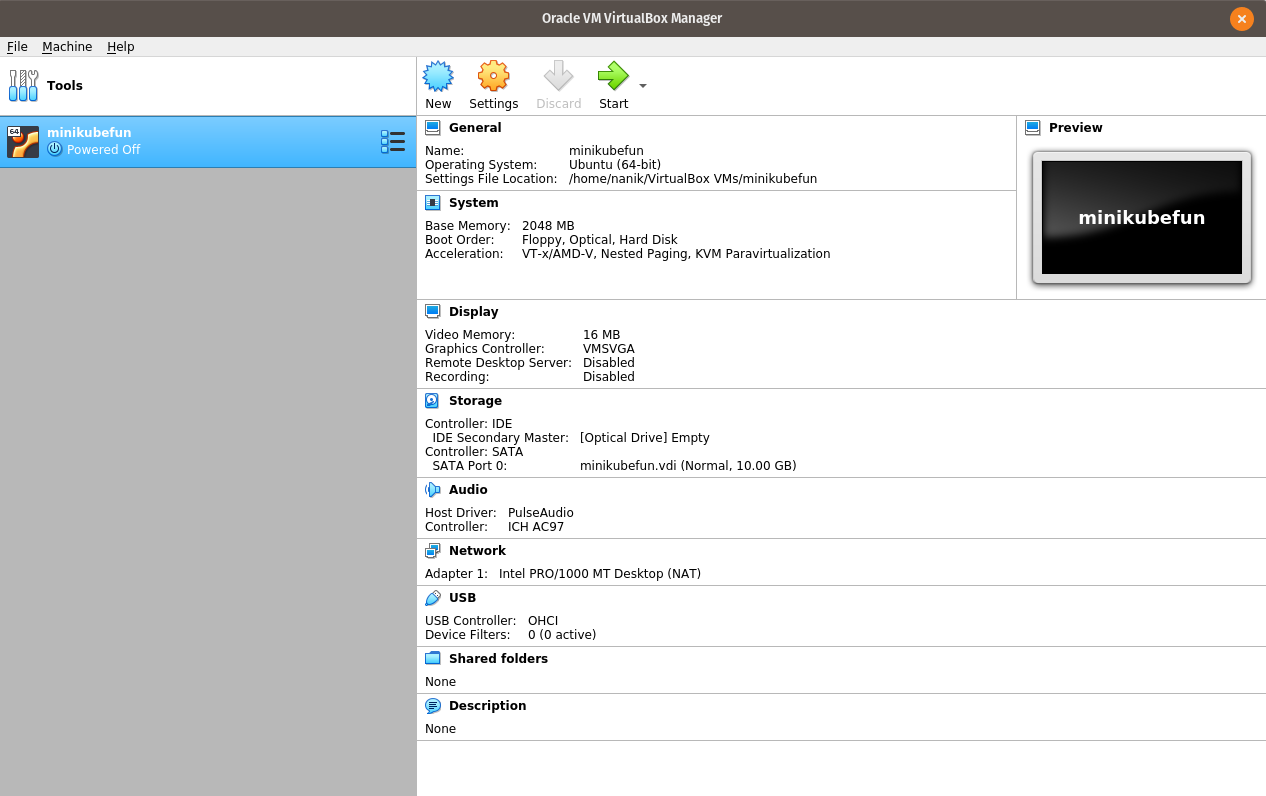
Create and configure virtual machine using the same setting as shown in the screenshot
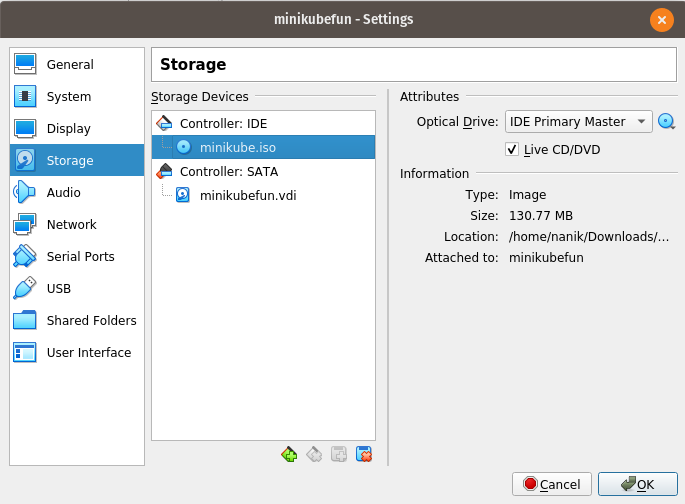
Make sure you specify the newly generated .iso file from your local build like the below screenshot
Once configured properly starts up the VM and you will see output similar to the following screenshot
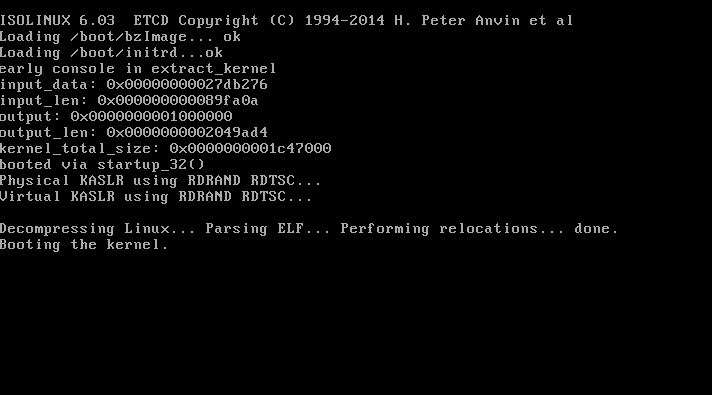
When the kernel startup properly the screen will show the prompt as shown the following screenshot. Enter root as the username and you will be inside the bash environment
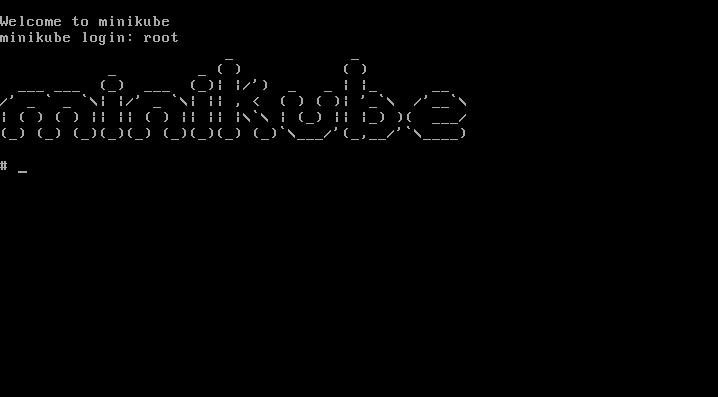
Even though you are able to run the .iso file the VM is still in it’s raw form as there are no Kubernetes app or configuration installed. So pretty much this is just an empty OS wihtout Kubernetes.
By going through through this exercise you now have a better idea the gaps that minikube try to fill in. Minikube fills in the gap by automating the whole process until the whole thing is up and running.
Dissecting minikube .iso file
Now that we have successfully generate and use the freshly build iso file, it’s time to dissect and take a look inside it. The iso file is a ISO9660 file which means it can be mounted to a local directory.
You can create any directory anywhere you like and mount the iso file, in my case I have created a directory /home/nanik/Downloads/playwithiso/mountiso and used the following command to mount the file
sudo mount -o loop ./minikube.iso /home/nanik/Downloads/playwithiso/mountiso/After the mount command successfully executed you will see the following tree structure
├── boot
│   ├── bzImage
│   └── initrd
├── boot.catalog
└── isolinux
    ├── isolinux.bin
    ├── isolinux.cfg
    └── ldlinux.c32
as can be see the iso file contain the rootfs (initrd) and kernel (bzImage) along with the the ISOLINUX bootloader files
Chroot
To further having fun with the iso file let’s use the rootfs to boot into it using chroot. Copy the initrd file from the mounted directory described on the previous section and use the following command to unzip it
bunzip2 ./initrdthe initrd will be unzipped to a file called initrd.out, use the following command to unpack the file
cpio -idv < initrd.out the file will be unpacked to the following tree structure
├── bin -> usr/bin
├── dev
├── etc
│   ├── cni
│   ├── containerd
│   ├── containers
│   ├── crio
│   ├── dbus-1
│   ├── docker
│   ├── glusterfs
│   ├── init.d
│   ├── iproute2
│   ├── kernel
│   ├── lvm
│   ├── modules-load.d
│   ├── pam.d
│   ├── profile.d
│   ├── ssh
│   ├── ssl
│   ├── sudoers.d
│   ├── sysconfig
│   ├── sysctl.d
│   ├── systemd
│   ├── tmpfiles.d
│   ├── udev
│   ├── vmware-tools
│   ├── X11
│   └── xdg
├── home
│   └── docker
├── lib -> usr/lib
├── lib64 -> lib
├── media
├── mnt
├── opt
│   └── cni
├── proc
├── root
├── run
│   ├── crio
│   ├── dbus
│   ├── gluster
│   ├── nfs
│   └── sudo
├── sbin -> usr/sbin
├── srv
├── sys
├── tmp
├── usr
│   ├── bin
│   ├── etc
│   ├── lib
│   ├── lib64 -> lib
│   ├── libexec
│   ├── sbin
│   └── share
└── var
    ├── empty
    ├── lib
    ├── log
    └── run -> ../run
Make sure you are inside the extracted directory and use the following command to chroot into it
sudo chroot .you will get bash prompt as follows
bash-4.4# To come out from the bash just type exit.
Using local build .iso file
The following command specified minikube to use locally built iso file
minikube start --iso-url=file:///home/nanik/Downloads/temp/packages/src/k8s.io/minikube/out/minikube.isoBelow is the log output
😄  minikube v0.0.0-unset on Ubuntu xx.xx
🔥  Creating virtualbox VM (CPUs=2, Memory=2000MB, Disk=20000MB) ...
Downloading /home/nanik/.minikube/cache/boot2docker.iso from file:///home/nanik/Downloads/temp/packages/src/k8s.io/minikube/out/minikube.iso...
Creating VirtualBox VM...
Creating SSH key...
Starting the VM...
Check network to re-create if needed...
Waiting for an IP...
Setting Docker configuration on the remote daemon...
Waiting for SSH to be available...
Detecting the provisioner...
🐳  Preparing Kubernetes v1.16.0-beta.1 on Docker 18.09.8 ...
🚜  Pulling images ...
🚀  Launching Kubernetes ...
⌛  Waiting for: apiserver proxy etcd scheduler controller dns
🏄  Done! kubectl is now configured to use "minikube"
💡  For best results, install kubectl: https://kubernetes.io/docs/tasks/tools/install-kubectl/
NOTE: notice the message Downloading /home/nanik/.minikube/cache/boot2docker.iso the process behind this message is actually using the specified minikube.iso and copying it to boot2docker.iso